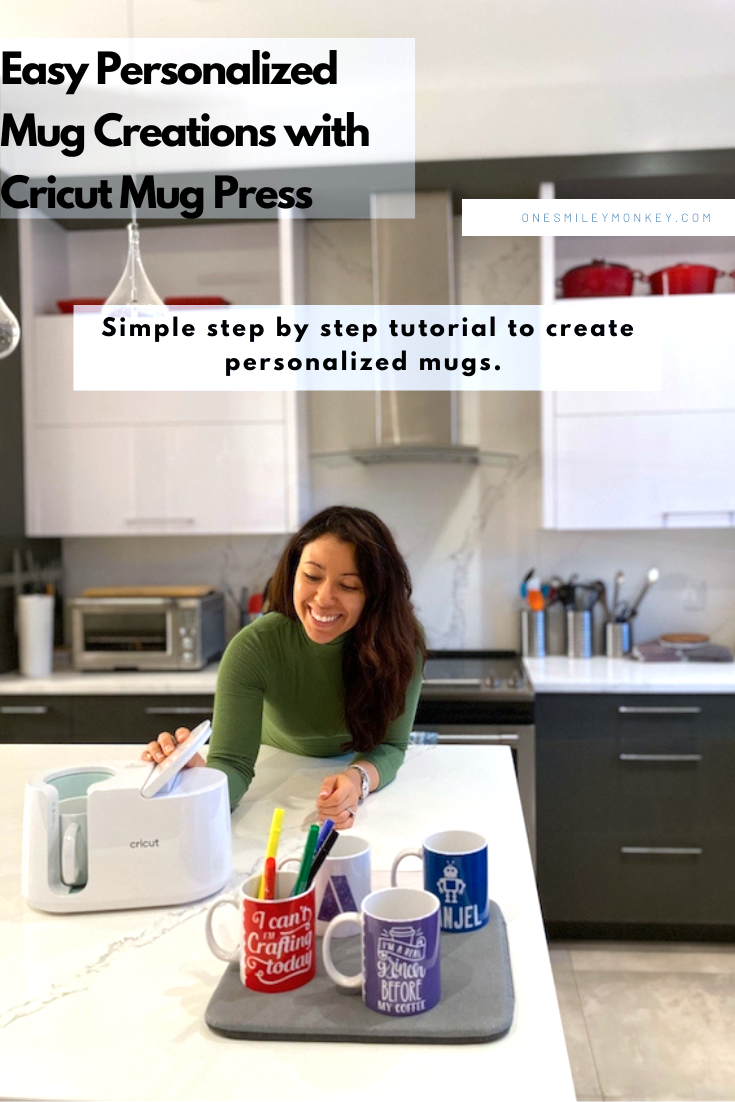
Looking for instructions on how to use your brand new Cricut Mug Press? Making mugs with the Cricut Mug Press is so easy. I am in love with this little machine, and this post will show you how to make a personalized mug in minutes easily. You just cut your design, apply it to the mug, press a button once, and the machine does the rest. So simple!
Personalized mugs are the perfect gift for birthdays, holidays, anniversaries, teacher gifts, and more. Also, a great gift idea for those hard to buy for in your gift-giving lists. I always love gifting something personalized and meaningful I can make myself. The colourful designs you create will permanently transfer to the mug, and they are dishwasher-safe.
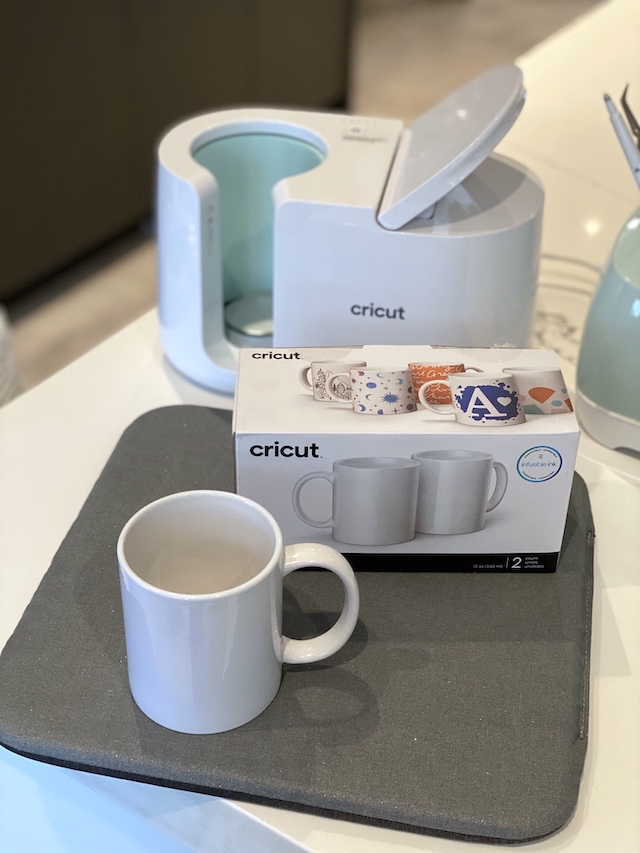
Because the Cricut Mug Press has one button only, the one-touch setting applies the optimal amount of heat, time, and pressure for you. No need to change and figure out specific settings. I love that simplicity. The machine has also been optimized for use with Cricut mug blanks (11oz to 16oz) and is compatible with Infusible Ink sheets, pens and markers to create the designs. You can find those online at shop.cricut.com or Target, Walmart, Amazon, Michales, Joann, Hobby Lobby, HSN.
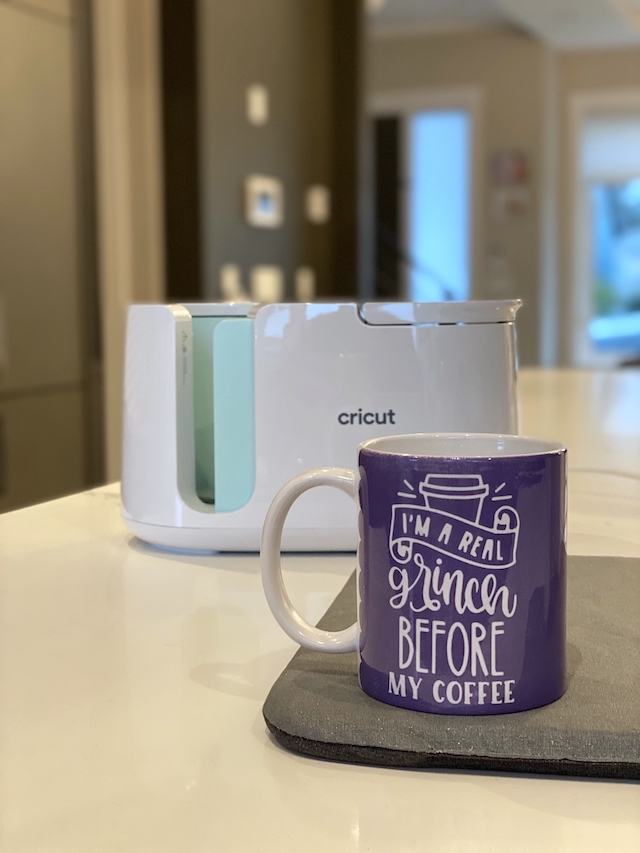
I also love how compact the Mug Press is. It looks so cute as well. I keep it out with my Cricut Joy on my desk, ready to use when I want to make a mug. They designed it with an auto-off setting for peace of mind as well.
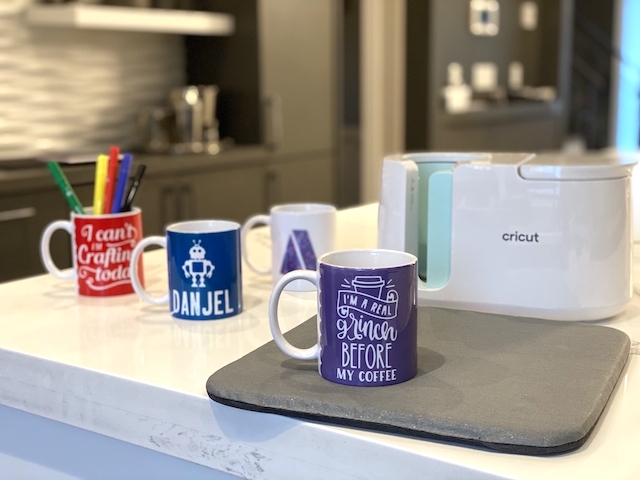
Look how vibrant and bright the colours turn out as well. So fun!
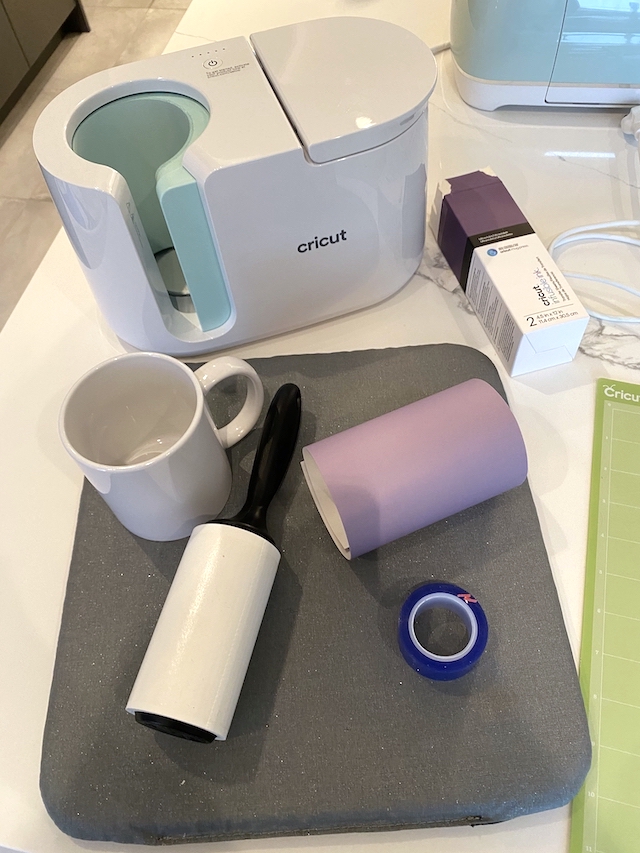
Before you get started, make sure you activate your machine, you will need a computer with DesignSpace and a USB port (USB cable provided in the box). To make a mug project, you need a Cricut Mug Press, a Cricut Mug, Infusible Ink sheets, pens, markers, and a lint roller. It is also recommended to have an EasyPress mat or other heat resistant surface to allow your mug to cool, as well as heat resistant tape if your design does not stick to the mug on its own. When using pens or markers, you also need butcher paper.
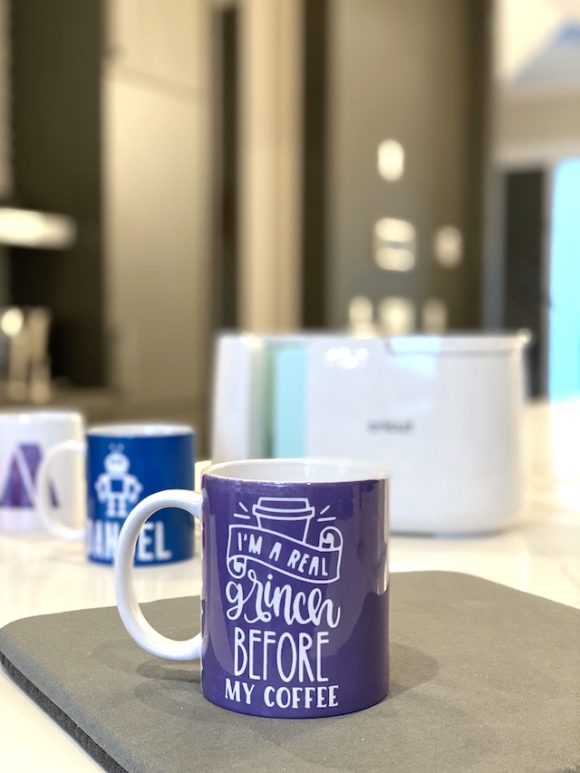
O.k. Let’s get started! Today I made a mug for myself with a funny coffee quote, because coffee is life, am I right?
Cricut Mug Press, Easy Personalized Mug Tutorial

Cricut Mug Press, Easy Personalized Mug Tutorial
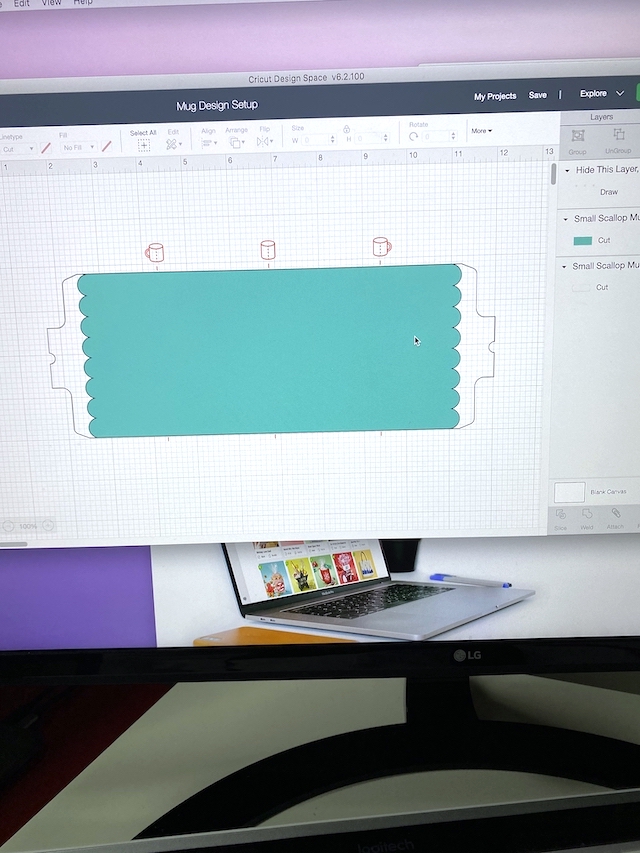
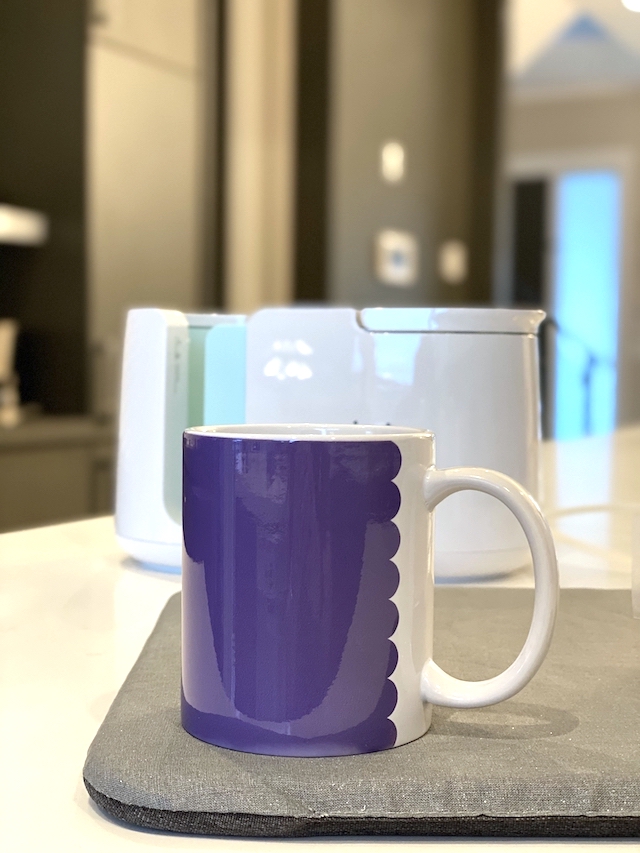
In this tutorial you will learn how to create a small mug with a scallop edge, you can personalize the design to add a graphic or text you wish.
Materials
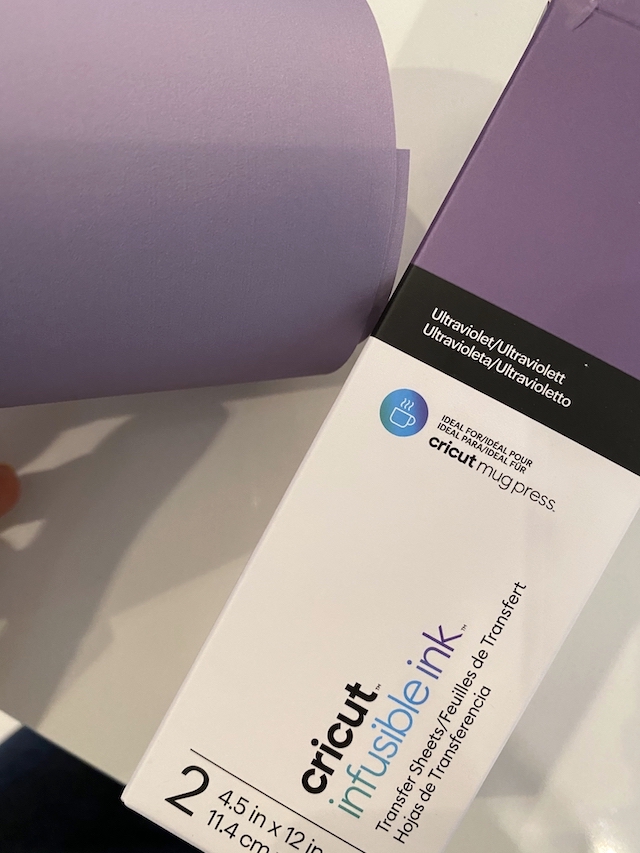
- Infusible Ink™ Transfer Sheet
- Cricut Mug Blank, 12 oz
- Heat Resistant Tape (optional)
- Lint Roller
Instructions
- For this project I am using a templete on DesignSpace. Find the "Mug Design Setup" project to start.
- Select the "Finish Size", for my project I selected the 12oz Mug with scallop edge.
- Open the template.
- To begin, select Customize.
- Add text and/or images as desired. Use the red mug icons to map your design. To lock everything in place, use Attach.
- Click the eyeball icon to hide the layer titled Hide This Layer
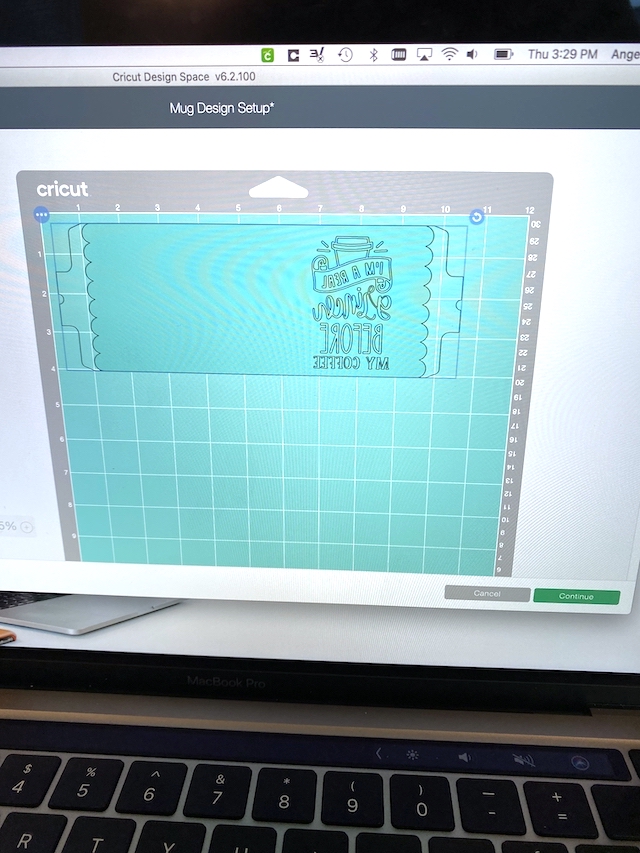
Cut
1. When you’re ready, select Make It, and mirror your design. (don't forget that step).
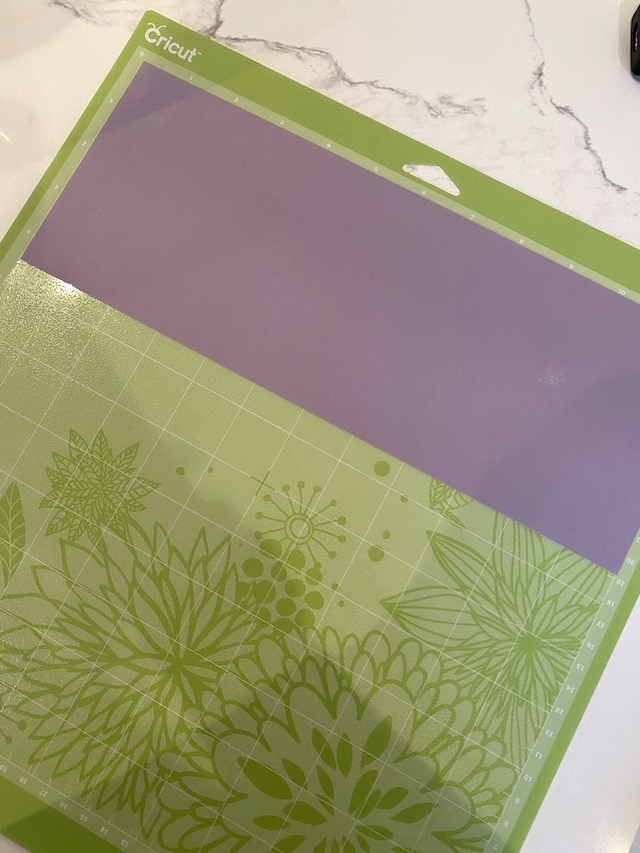
2. Place Infusible Ink™ Transfer Sheet, shiny side (clear liner) down, on mat.
3. Follow steps and wait for the machine to cut your design.
Apply Design
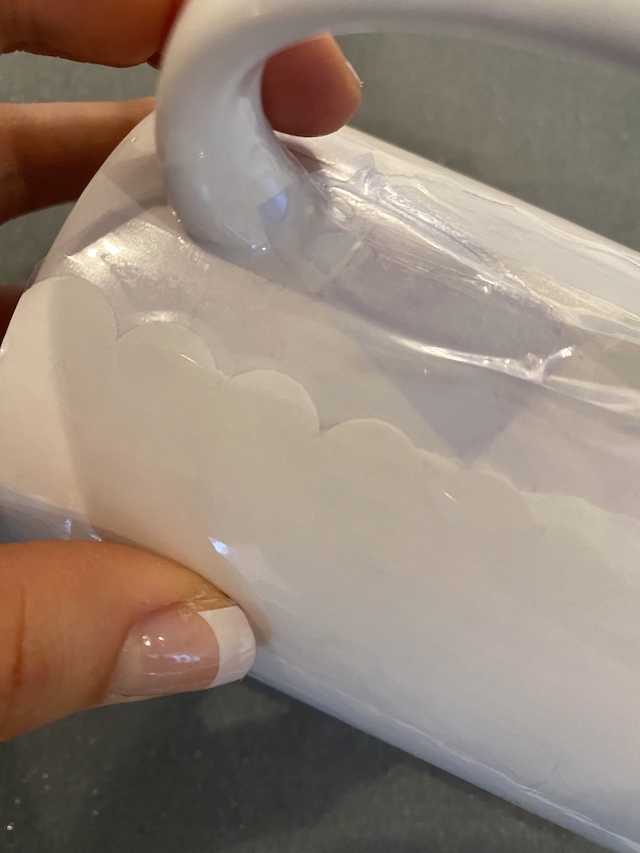
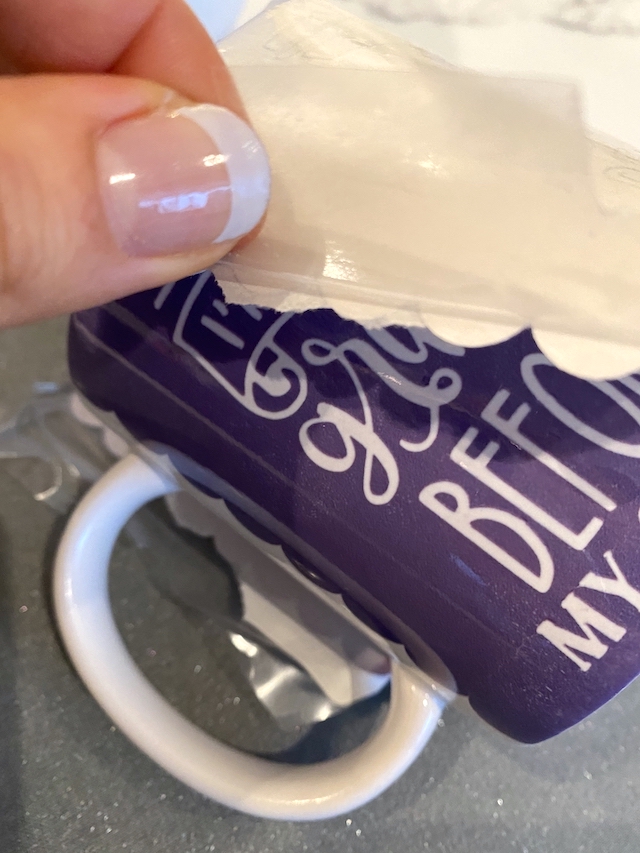
1. Weed the design, leave design on clear liner.
2. Use the lint roller to prepare the mug before application. Apply your design to the Cricut mug carefuly, use heat resistant tape if needed to attach.
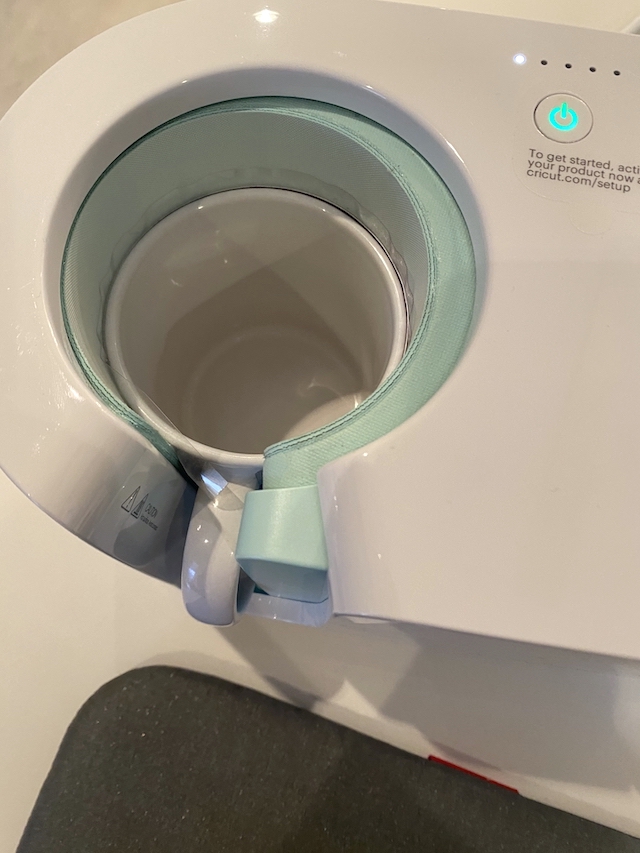
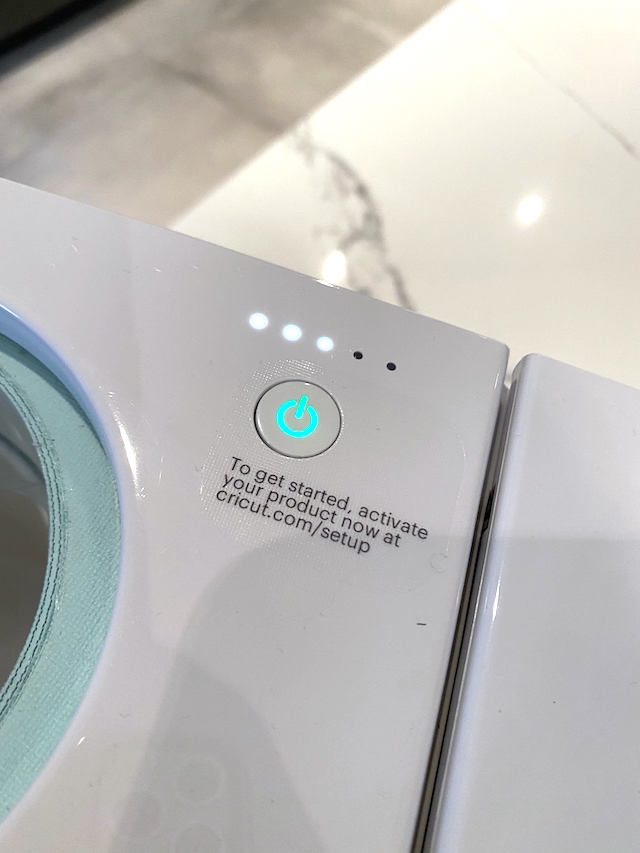
3. Make sure the Cricut Mug Press is on and has reached pressing temperature (button will turn green).
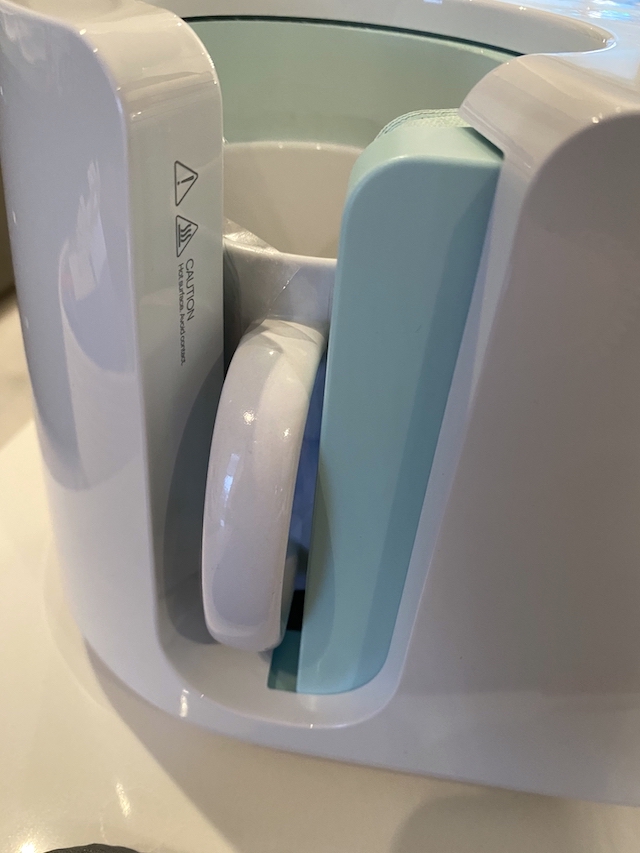
4. Insert the mug carefully inside the press, lower the lever and wait for the transfer to start.
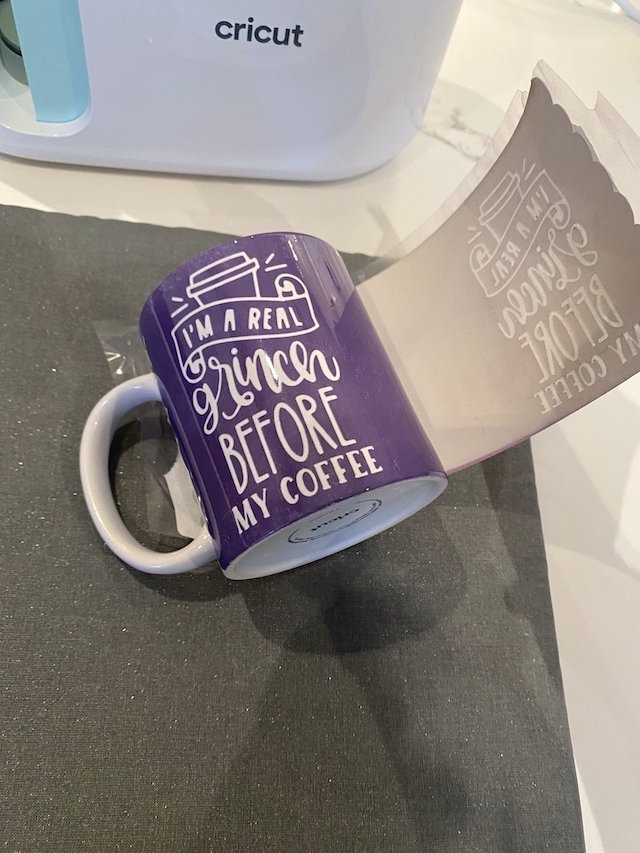
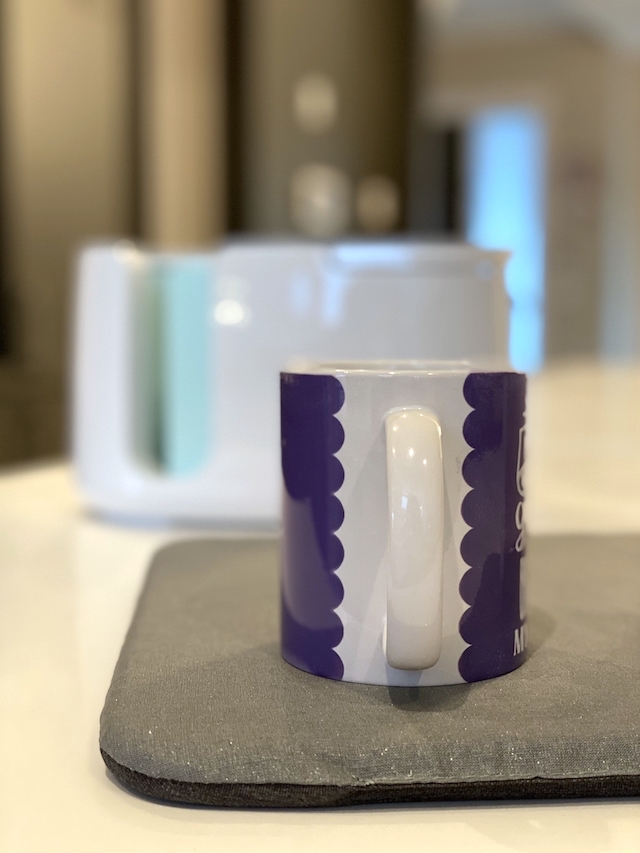
5. Wait for the beep, carefully remove the mug from the press, witouth touching the sides (only touch the handle), and set it on a heat-resistant surface.
6. Wait for it to cool down, remove the transfer sheet and check out the designs you have created.
ENJOY.

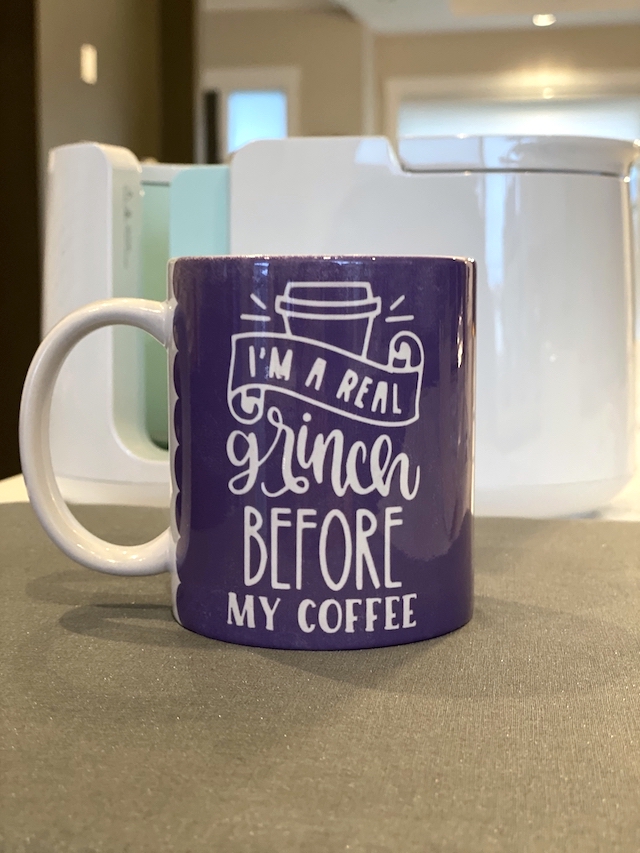

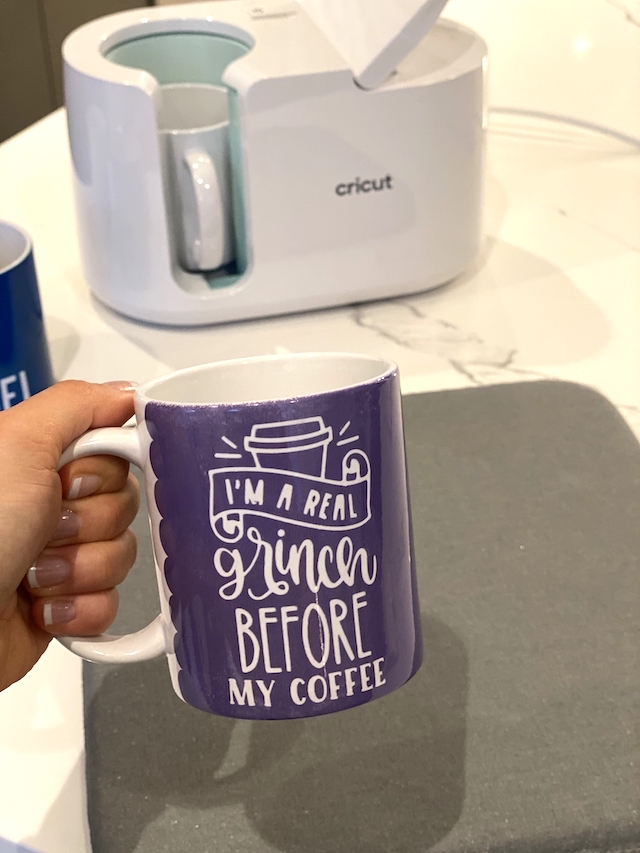
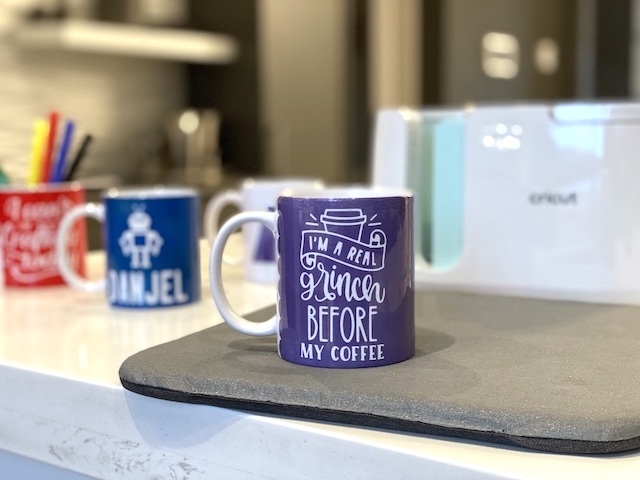
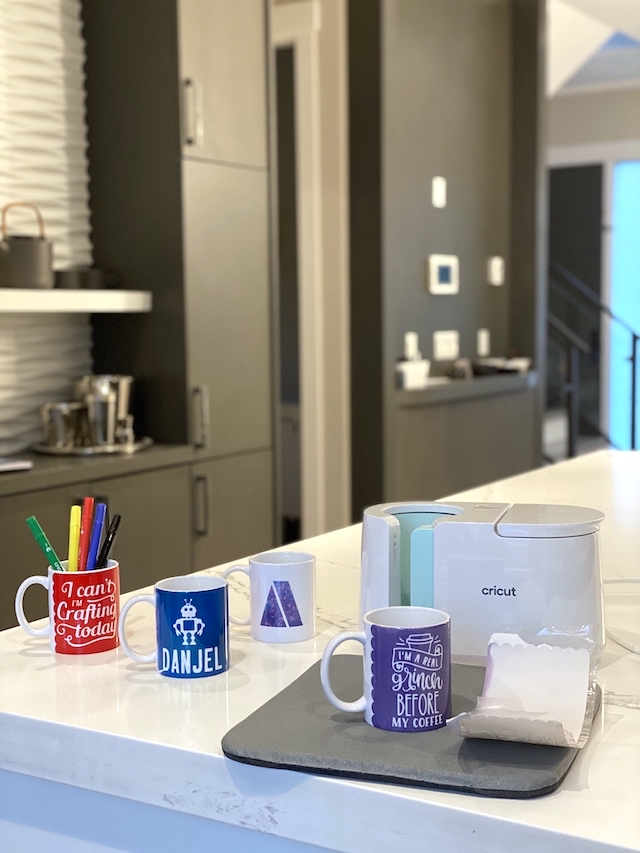
The colours are so bright and beautiful! So many creative designs are now possible. I can’t wait to make some more mugs. What colour/design would you make?
Disclosure: This has been a paid post collaboration with Cricut. However, all views and opinions are 100% my own.


18 Comments on “Cricut Mug Press, Easy Personalized Mug Tutorial”
ok I need to get me one of these!! All the unique and amazing things you can create not only for your own household but as gifts as well
Wow, I didn’t realize this Cricut isn’t very big, and how accessible they are! I haven’t been to any of these places in over a year, and never thought to seek them online, as I had no idea this model existed. I want to check it out!!! These mugs are adorable!
These are some great ideas and amazing step by step instructions.
The Cricut Mug Press looks like such a great little machine!
Those are so cool, I can see a lot of people getting mugs this year for their birthdays and Christmas. Can other mugs or glasses fit in that press?
Oh wow, these look great!
I love all the creative ideas I have seen with the Cricut! I have one on my wish list 🙂
I totally love the idea and how easy it is to use. I would so love one, but I can’t justify the price for personal use.
Wow This little machine can do so much! Love the designs you chose.
Wow I love this , I think I need one ! Mugs for everyone !
This is awesome!! I didn’t realize how bad I needed one until after this review! It looks easy, hopefully my daughter and I can make some!.
very cool, would love this!
This is very cool I love the mugs
Amazing!! I will have to come back and watch again when I save up enough and get a mug press!
Would like to try making something like this one day.
I just got my Cricut mug press and I’m so excited about it. It is a great tool for me to create personalized mugs. My daughter loves the fact that she can make her own personalized mugs with her name on them! The mug press cuts smoothly and it creates an awesome product in no time at all.
Cute mugs and they seem really easy to make. I especially like the I’m a Grinch before coffee one.
This is a lovely way to make gifts. I need to invest more time into crafting, as I do love it.