 by Angela V
 A few months ago, I found out my iron levels were lower than they should be. Looking back, it made a lot of sense. I had been feeling tired more often than usual, and while life as a busy working mom can definitely do that, I wanted to make sure there wasn’t something else going on.
After talking with my doctor, we came up with a plan to help get my iron levels back up. Along with eating more iron-rich foods, we talked about using an iron fish while cooking as an easy way to add a little extra iron to my diet.
I thought it sounded interesting, so I decided to give it a try! My plan is to use it every day for the next three months and then have my iron levels tested again to see if it has made a difference. Of course, I’ll be sharing my results with all of you once I have them.
If you’ve never heard of an iron fish before, here’s what it is and how it works.
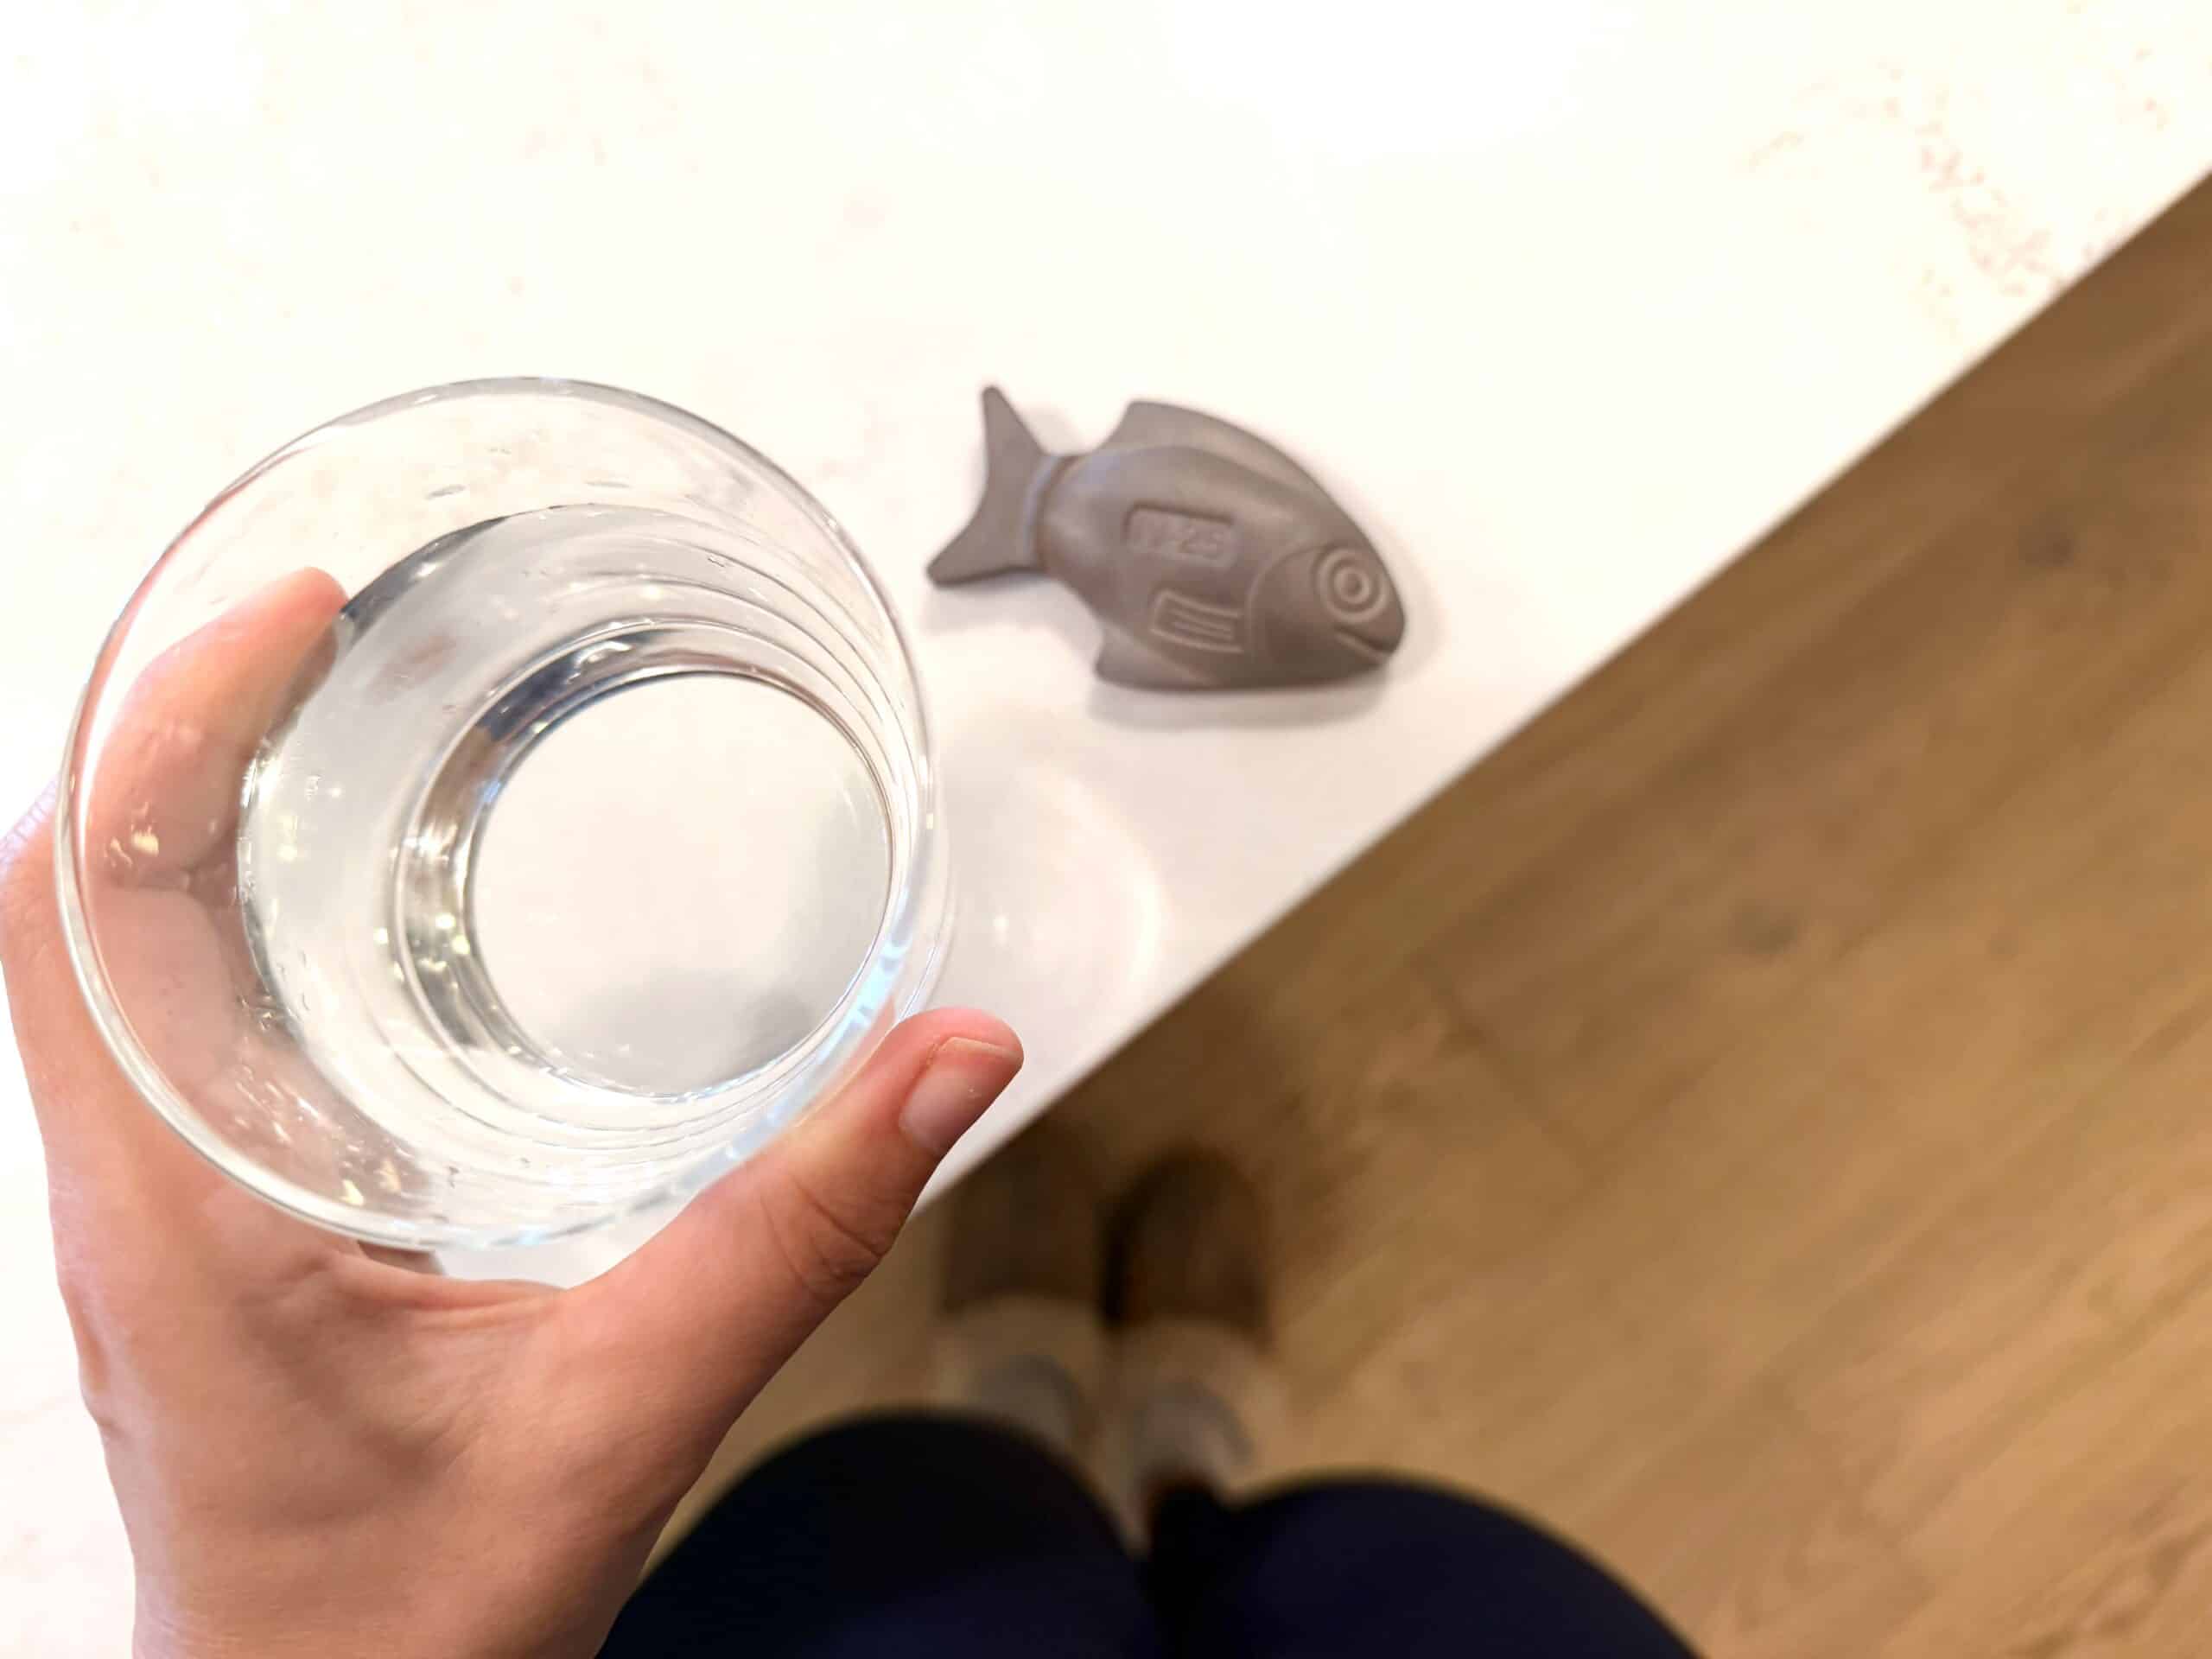
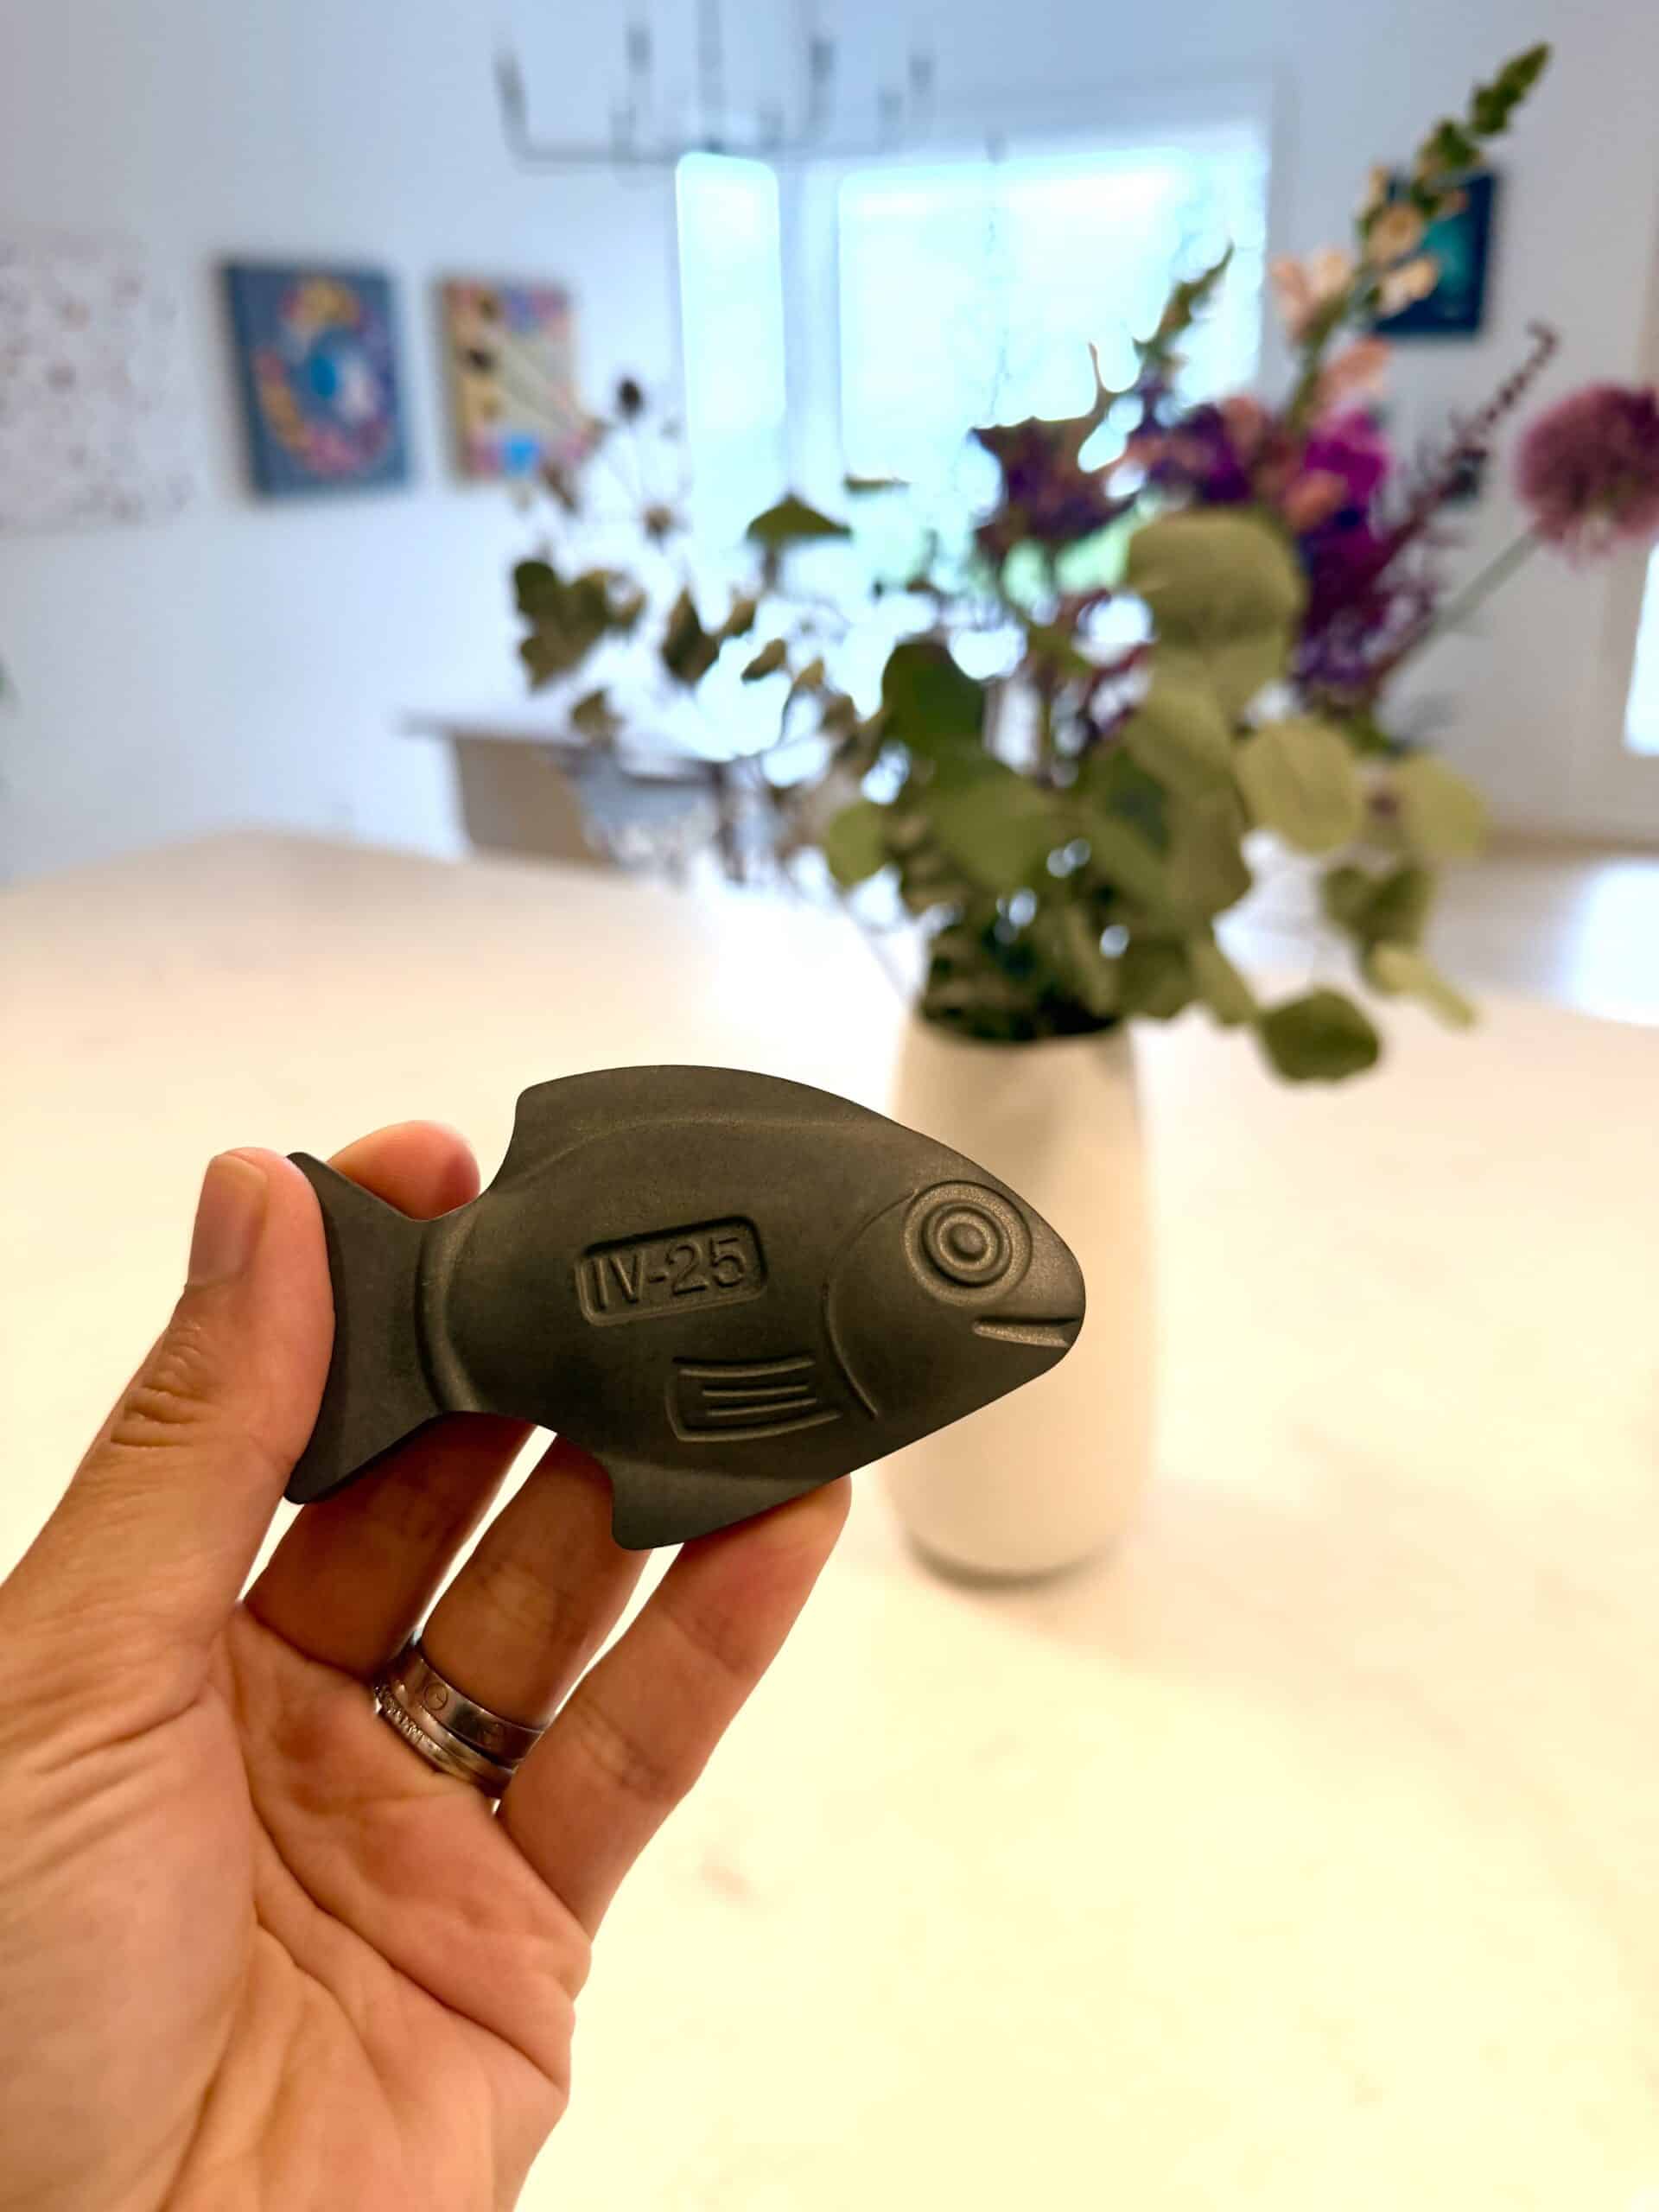
An iron fish is a small reusable piece of cast iron that you place in boiling water, soups, stews, sauces, or other liquid-based meals while you’re cooking. As it boils, it releases a small amount of iron into the food, helping increase your dietary iron intake naturally.
It’s incredibly simple to use, and because it’s reusable, you can keep using the same one for years.
How I Have Been Using My Iron Fish
I’ve added it to my daily routine, and honestly, it couldn’t be easier.
Step 1: Bring water to a boil.
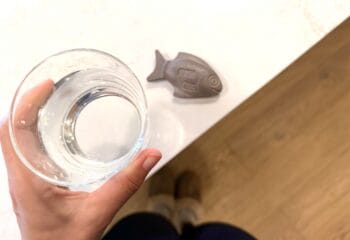
You can use it in plain water, soups, stews, pasta water, or just about any recipe that has enough liquid. But to start, you bring 4 cups of water to a boil on a pot.
Step 2: Add a little vitamin C.
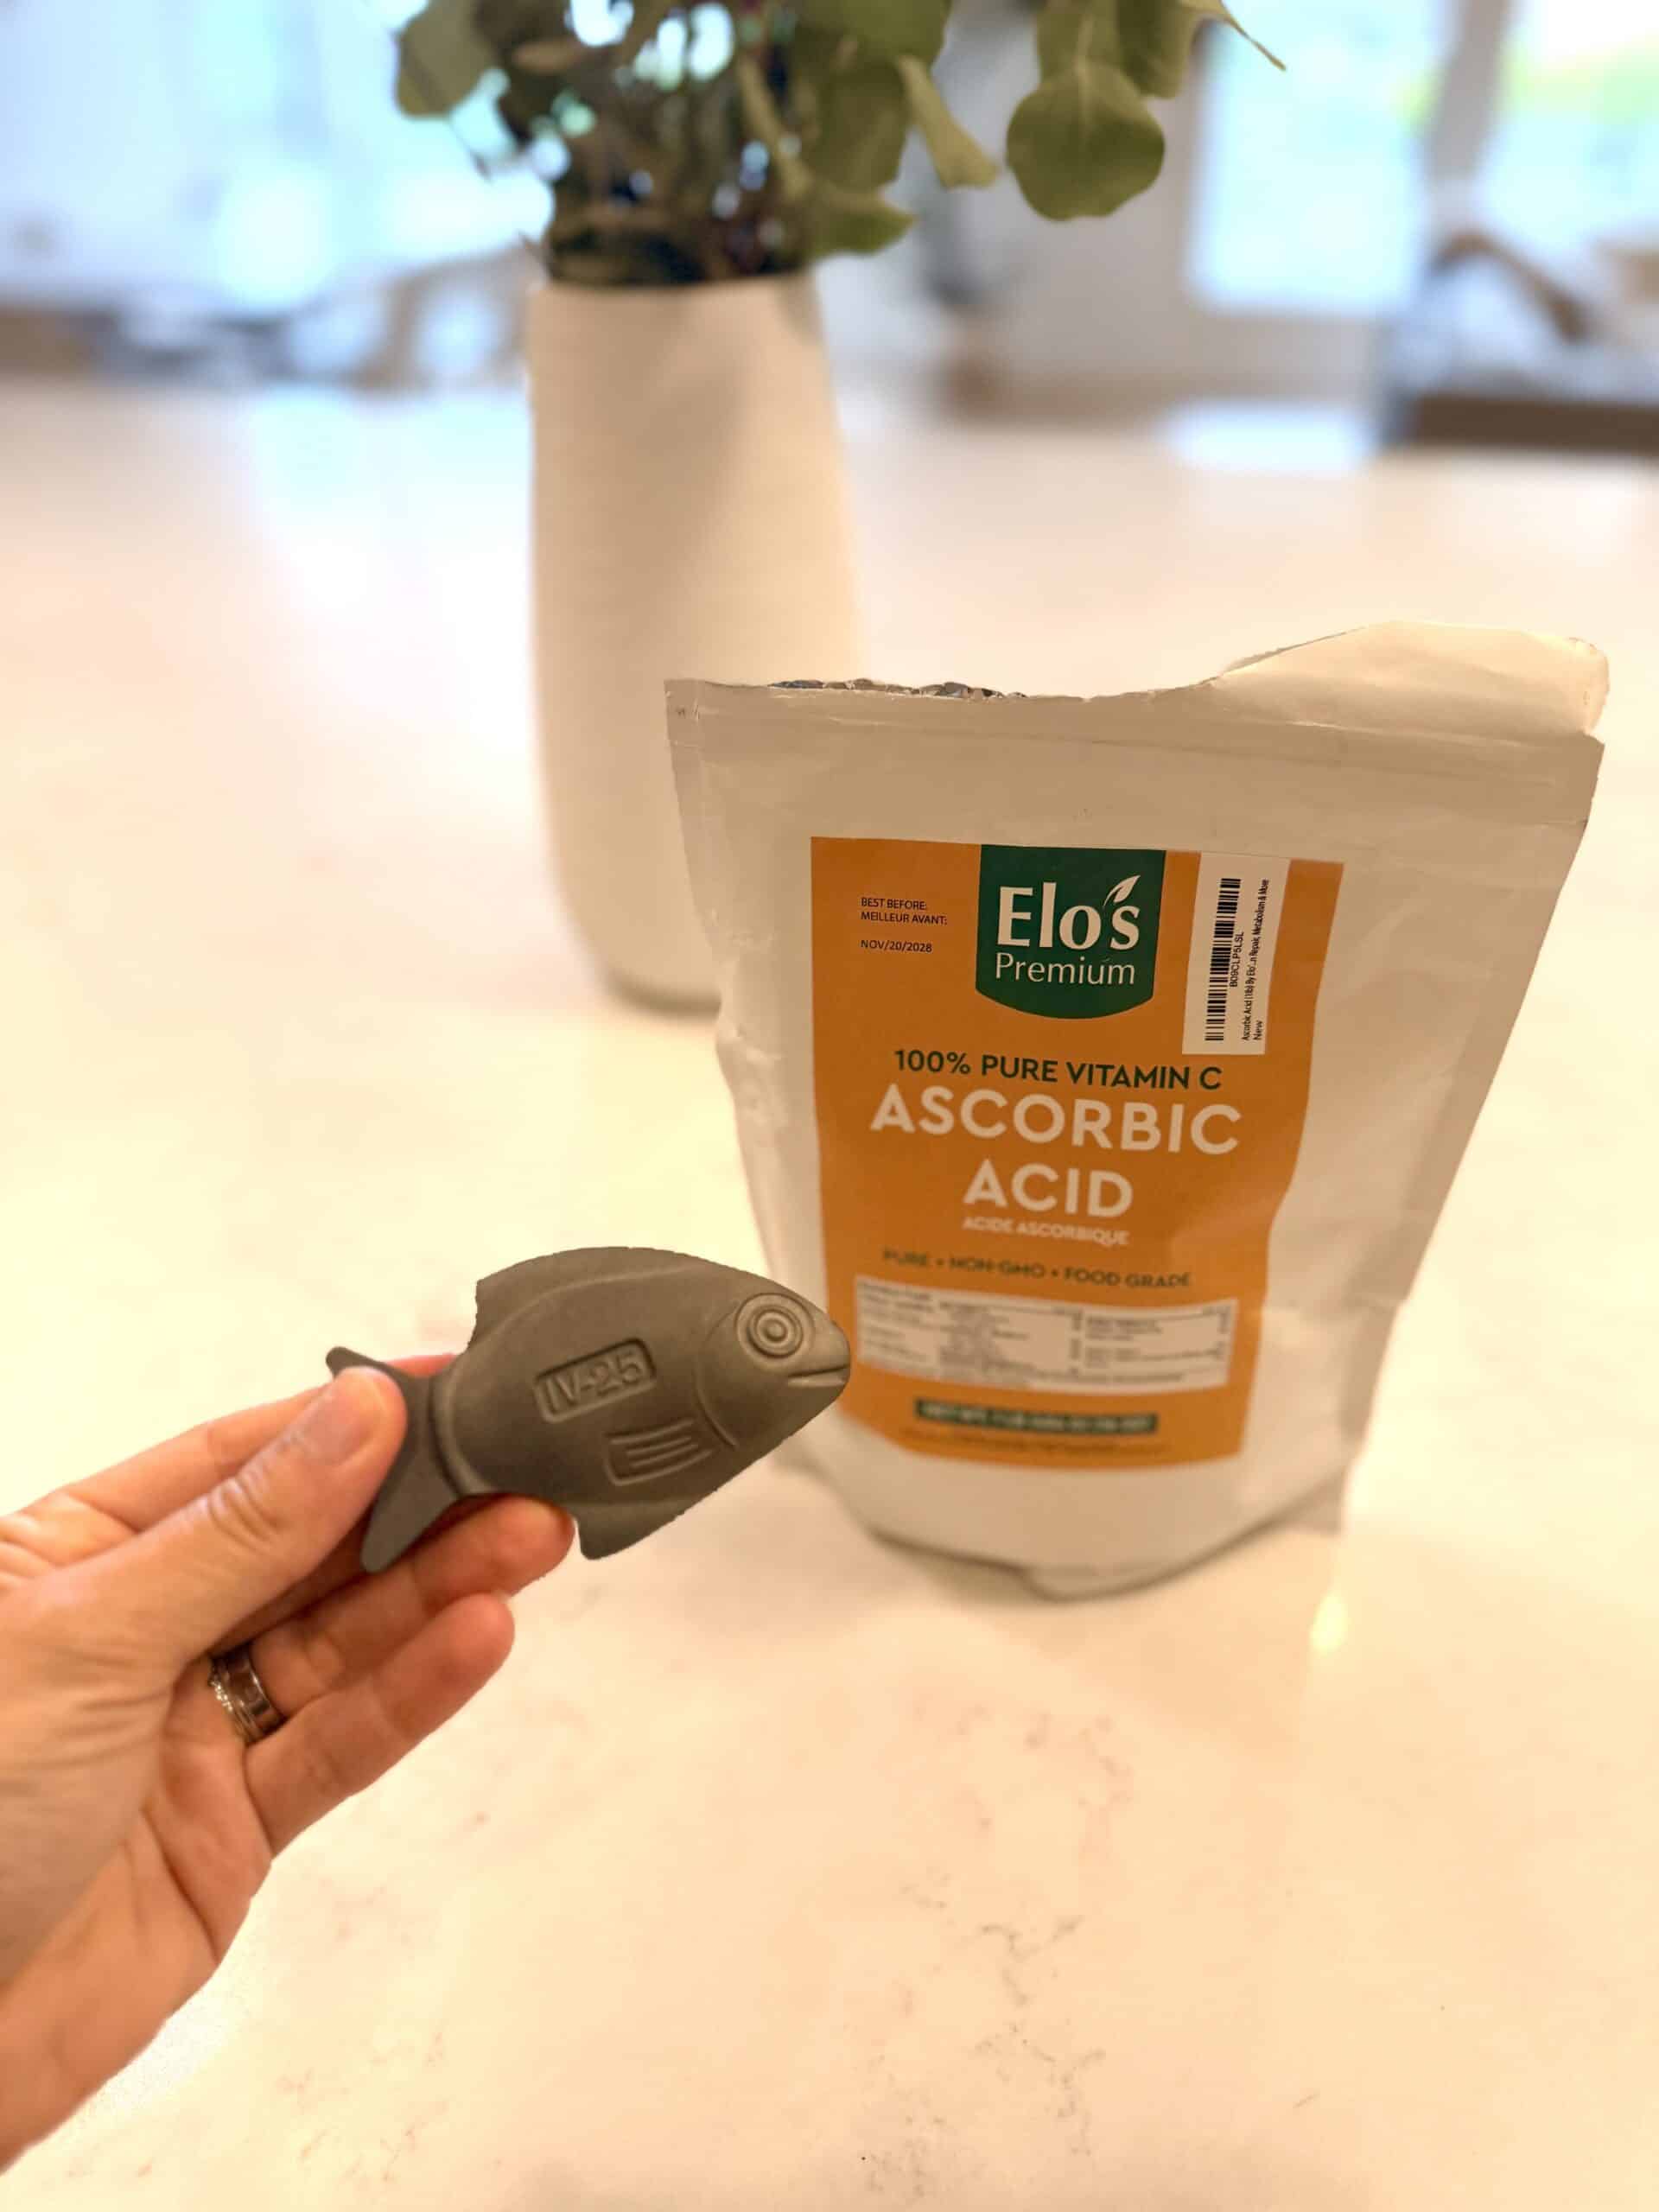
This step is important because vitamin C helps your body absorb iron better. You can squeeze in a bit of fresh lemon juice, but you could also use lime juice or cook it with tomatoes in soups and sauces. I got Ascorbic Acid (Vitamin C podwer), and I add half a tspn to the water when it is boiling.
Step 3: Drop in the iron fish.
Once the vitamin C has been added, place the iron fish into the pot.
Step 4: Let it boil for about 10 minutes.
That’s really all there is to it! While it’s simmering, the iron fish releases a small amount of iron into the liquid.
Step 5: Remove, wash, and dry it.
After the 10 minutes pass, I wash the fish with warm water and make sure it’s completely dry before putting it away so it doesn’t rust.
Step 6: Wait for the iron-infused water to cool down and drink it.
I usually leave the water on the stove to cool down fully for a few hours, then, on an empty stomach, I drink the water. I got used to the taste and to be honest, it’s totally o.k. and it doesn’t bug me. I know some people hate the taste, so they hide it in soups and other meals, so it’s up to you. If you tolerate it, drinking the water is super easy.
How You Can Add More Iron to Your Diet
I’m not relying on the iron fish alone. I’m also making an effort to eat more foods that naturally contain iron, including:
- Lean beef
- Spinach
- Lentils
- Beans
- Pumpkin seeds
- Chickpeas
- Iron-fortified cereals
I’m also trying to pair those foods with vitamin C whenever I can, since that helps with iron absorption.
Everyone’s body is different, so I have no idea how much of a difference this will make for me. My doctor felt it was worth trying as part of my overall plan, so I’m committing to using it every day for the next three months.
Once I have my follow-up blood work done, I’ll come back and update this post with my results. I’m genuinely curious to see whether this simple little fish can help improve my iron levels.
If you think you might have low iron, it’s always a good idea to talk with your healthcare provider before making changes to your diet or starting supplements. Low iron can have many different causes, and getting proper testing is the best place to start.
Have you ever tried an iron fish before? Or have you found another way to naturally increase your iron levels? I’d love to hear about your experience in the comments below!